Prepare useful photos, measurements, drainage notes, repair history, and access details before a concrete estimate or site review.
Good preparation helps us understand the location, visible damage, access, and project goals before recommending the next step. Photos and measurements support an initial review, but they do not replace an on-site inspection when underlying support, drainage, or slab movement needs to be evaluated.
Before Requesting an Estimate
Start by identifying the surface and the main concern. Note whether the project involves a driveway, sidewalk, individual crack, patio, or more than one connected area. Describe what you see without trying to diagnose the cause, including when the damage first appeared and whether it is widening, settling, breaking down, or otherwise changing.
Photos of a driveway can help us compare driveway repair with driveway replacement when vehicle surfaces or garage approaches are damaged. The same applies to sidewalk repair and sidewalk replacement for uneven walkways, or patio repair and patio replacement for outdoor living surfaces. For an isolated or recurring crack, see concrete crack repair. If you are still comparing the likely scope, our repair-versus-replacement guide explains the conditions we review.
Take Context and Detail Photos
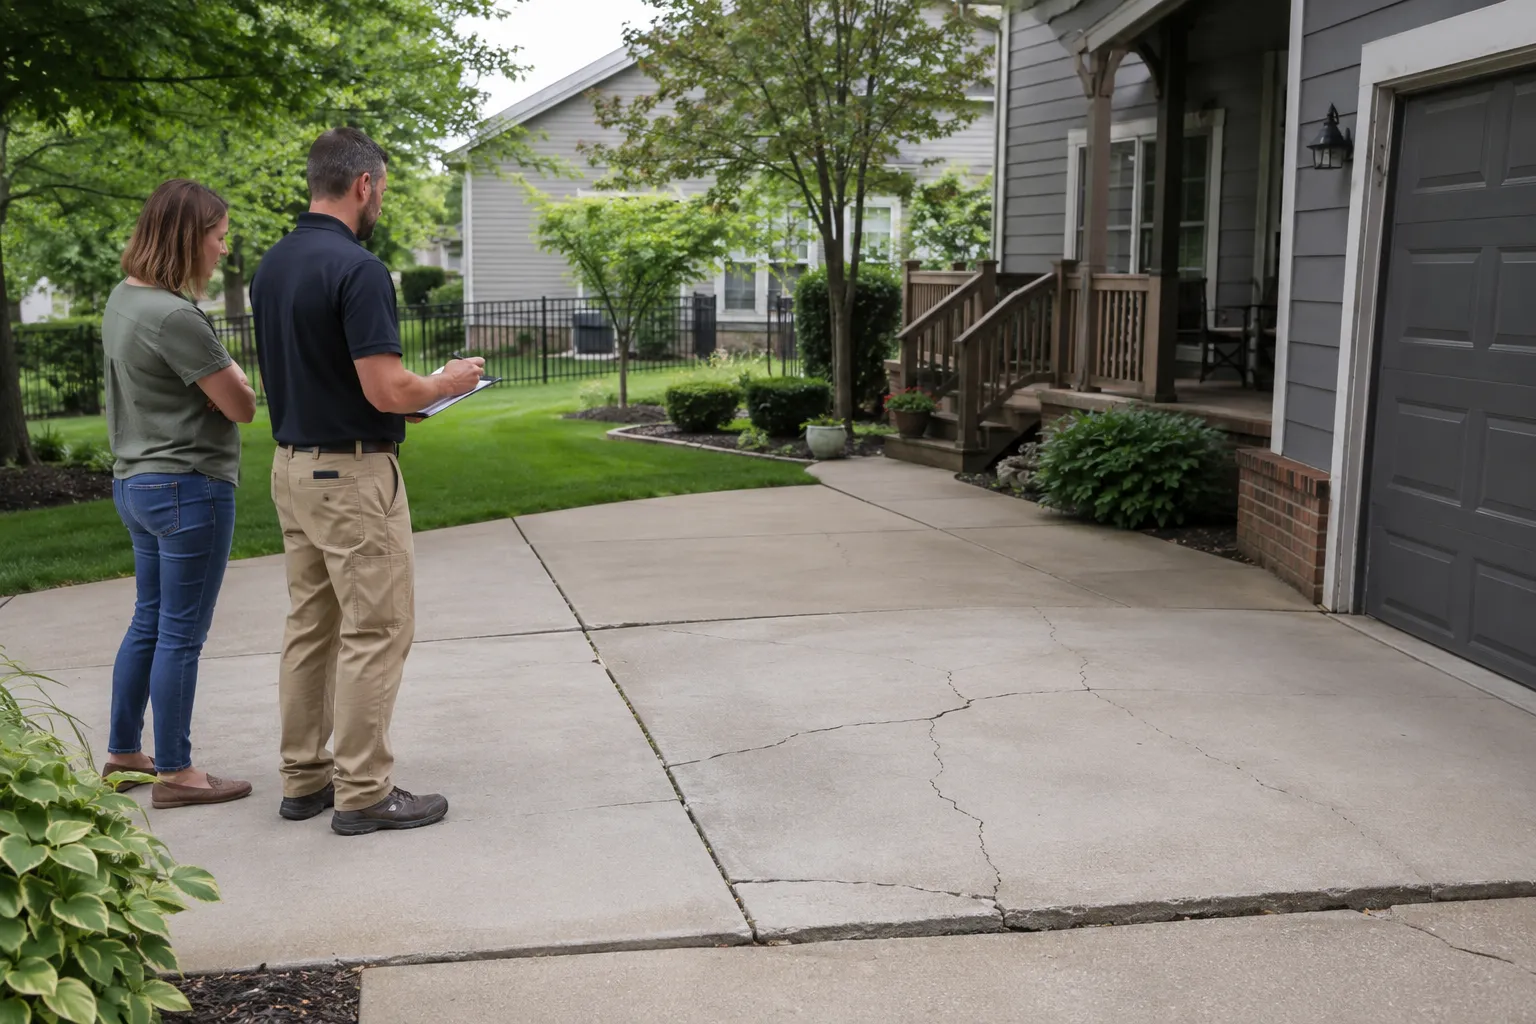
Begin with wide photos that show the full concrete area and its relationship to nearby doors, exterior walls, the street, steps, drains, landscaping, utilities, and adjoining slabs. Then take close-up photos of cracks, settlement or height differences, scaling or surface loss, broken sections, joints, uneven transitions, or previous patch material.
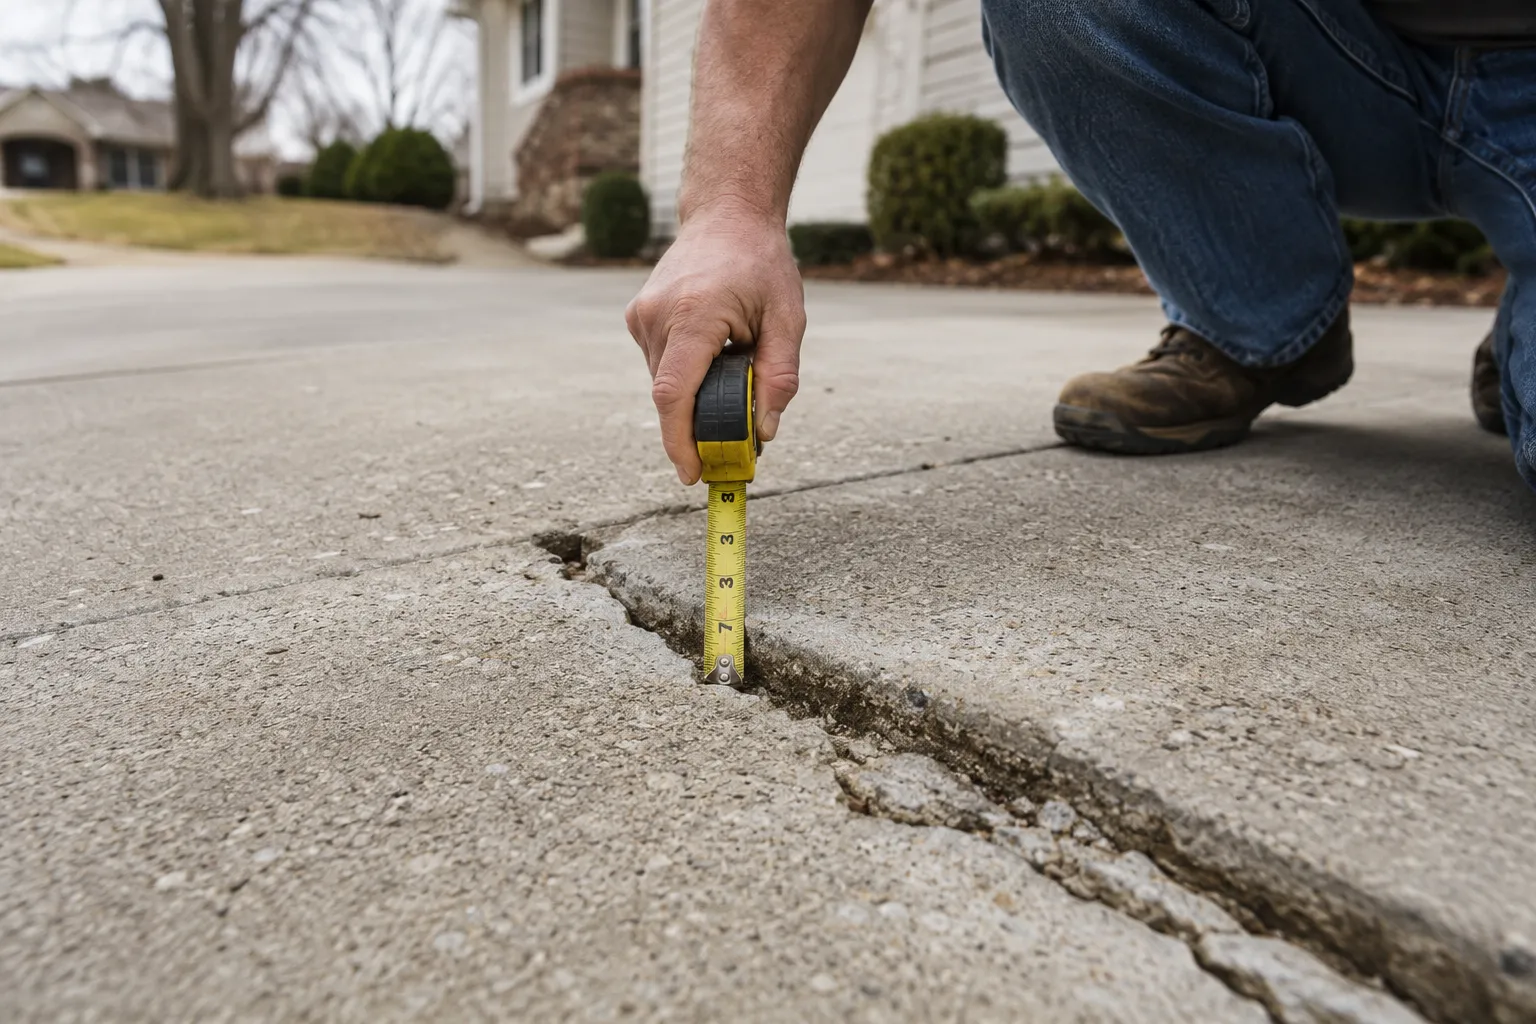
Use a familiar object or measuring tool for scale when it can be done safely. Keep the image clear enough to show where the detail belongs within the wider area. Do not enter traffic, unstable areas, or unsafe edges to obtain a photo.
Record Basic Measurements
Approximate length and width help establish the affected area. Measure the overall damaged section as well as notable cracks, height differences, gate openings, and narrow access points when practical. Label measurements clearly rather than expecting a reviewer to infer them from a photo.
Measurements support early planning, but they do not confirm quantities or a final scope. Irregular shapes, slab thickness, removal limits, and conditions below the concrete may still require an on-site review.
Document Drainage and Water Conditions
Describe where water comes from, where it collects, and where it appears to leave the concrete. Include nearby downspouts, drains, low areas, soil erosion, or runoff paths that may be relevant. Photos taken after rain can be useful when conditions are safe.
Drainage information helps the reviewer consider slope and transitions. It should not be treated as proof that the concrete is the only cause of a water problem.
For local context on drainage, seasonal exposure, and City coordination considerations, see Concrete in Lee’s Summit.
Note Previous Repairs and Changes
Identify visible sealant, patches, replaced panels, added joints, coatings, or repeated cracks. If you know when a repair was performed or when the damage changed, include that history without guessing. Let us know how you intend to use the area and any preferred project timing so we can account for vehicle, foot-traffic, or outdoor-use needs when discussing the scope.
Previous work can affect preparation, removal, appearance, and material selection. The concrete repair cost factors guide explains how existing conditions and repair-versus-replacement decisions can shape an estimate.
Explain Site Access
Photograph the route from the street or driveway to the work area. Note gate widths, steps, fences, narrow side yards, landscaping, overhead restrictions, utility equipment, and surfaces that may need protection. Mention whether vehicles, work equipment, furniture, storage, or other obstacles normally occupy the area or limit access.
Access details help determine what still needs to be confirmed during a site visit. They do not guarantee that a particular piece of equipment or work method will be suitable.
Before an On-Site Review
Make the affected concrete visible and safely accessible. Move small personal items when practical, secure pets, and identify known irrigation components or other features near the work area. Do not remove concrete, dig around the slab, or disturb utilities to prepare for an estimate.
Have your photos, measurements, drainage observations, and project priorities available. If more than one person is involved in the decision, identify questions about appearance, access, timing, and how the area needs to function.
Before Work Begins
Confirm the exact work limits, repair or replacement approach, access route, cleanup responsibilities, finish expectations, and protection requirements. Ask when foot traffic, vehicles, furniture, sprinklers, or normal drainage can return to the area based on the selected material and conditions.
Move vehicles and agreed-upon items before the scheduled work window. Follow the contractor’s instructions for access and curing rather than relying on a generic preparation timeline.
Organize the Request
Use the resources hub to review both planning guides, or return to the home page for an overview of concrete repair options in Lee’s Summit. When the photos and notes are ready, submit a concrete repair estimate request and attach the clearest images of the full area and visible damage.